In software testing, especially in automation, email verification is crucial. While many third-party inbox providers make it easy to fetch email content in Cypress with a simple API call, they often come with hidden costs ⚠️ and added complexities 🤯. For a long time, Mailosaur was my go-to solution. However, handling sensitive email data through third parties introduces security risks, and their pricing can be unpredictable. What costs $75 a year today could unexpectedly jump to $500. Plus, managing extra vendors adds even more hassle.
So, why not use Gmail instead? You might think, “It’s not possible with Cypress due to cross-domain restrictions, and automating Gmail is a no-go.” But imagine being able to directly call Gmail’s API and fetch the latest email in Cypress — sounds impossible, right? Actually, it’s totally doable!

In this blog, I’ll walk you through how to use the Gmail API to automate tests that require email access. Let’s dive in!
What You Need 🔧
Before you start, gather the following:
- Google Client ID: Your unique OAuth 2.0 Client ID from Google Cloud, which identifies your application.
- Google Client Secret: This secure key accompanies your Client ID.
- Google Refresh Token: This token allows you to request a new access token when the current one expires, ensuring continuous access to Google’s services.
How to Obtain Your Credentials 🌟
- Create a Test Gmail Account: Set up a new Gmail account specifically for testing. This keeps your personal email unaffected and lets you see in real-time how the code waits for incoming emails.
- Visit Google Cloud Console: Go to the Google Cloud Console.
- Create a Project: Create a new project or select an existing one.
- Enable Gmail API: Navigate to “APIs & Services,” find the Gmail API, and enable it for your project.
- Create OAuth 2.0 Credentials: Go to “Credentials,” create new OAuth 2.0 credentials (Client ID and Client Secret), and save them securely.
- Obtain a Refresh Token: Use the OAuth 2.0 Playground or a similar tool to get a Refresh Token. Authorize the app with your Gmail account, exchange the authorization code for a Refresh Token, and store it safely.

Setting Up Your Cypress Project ⚙️
- Clone the Repository: Begin by cloning the repository that contains our Cypress setup for email testing:
> git clone https://github.com/rojalbati/cypress-email-testing
> cd cypress-email-testing
> npm install- Configure Your Credentials:
- Open cypress/e2e/example/email_testing.cy.js and replace the placeholder with your newly created email address.
- Open cypress/support/commands.js and update the clientId, clientSecret, and refreshToken values with your credentials.
- Now you’re all set to use the Gmail API for email testing within Cypress!
- Send test email
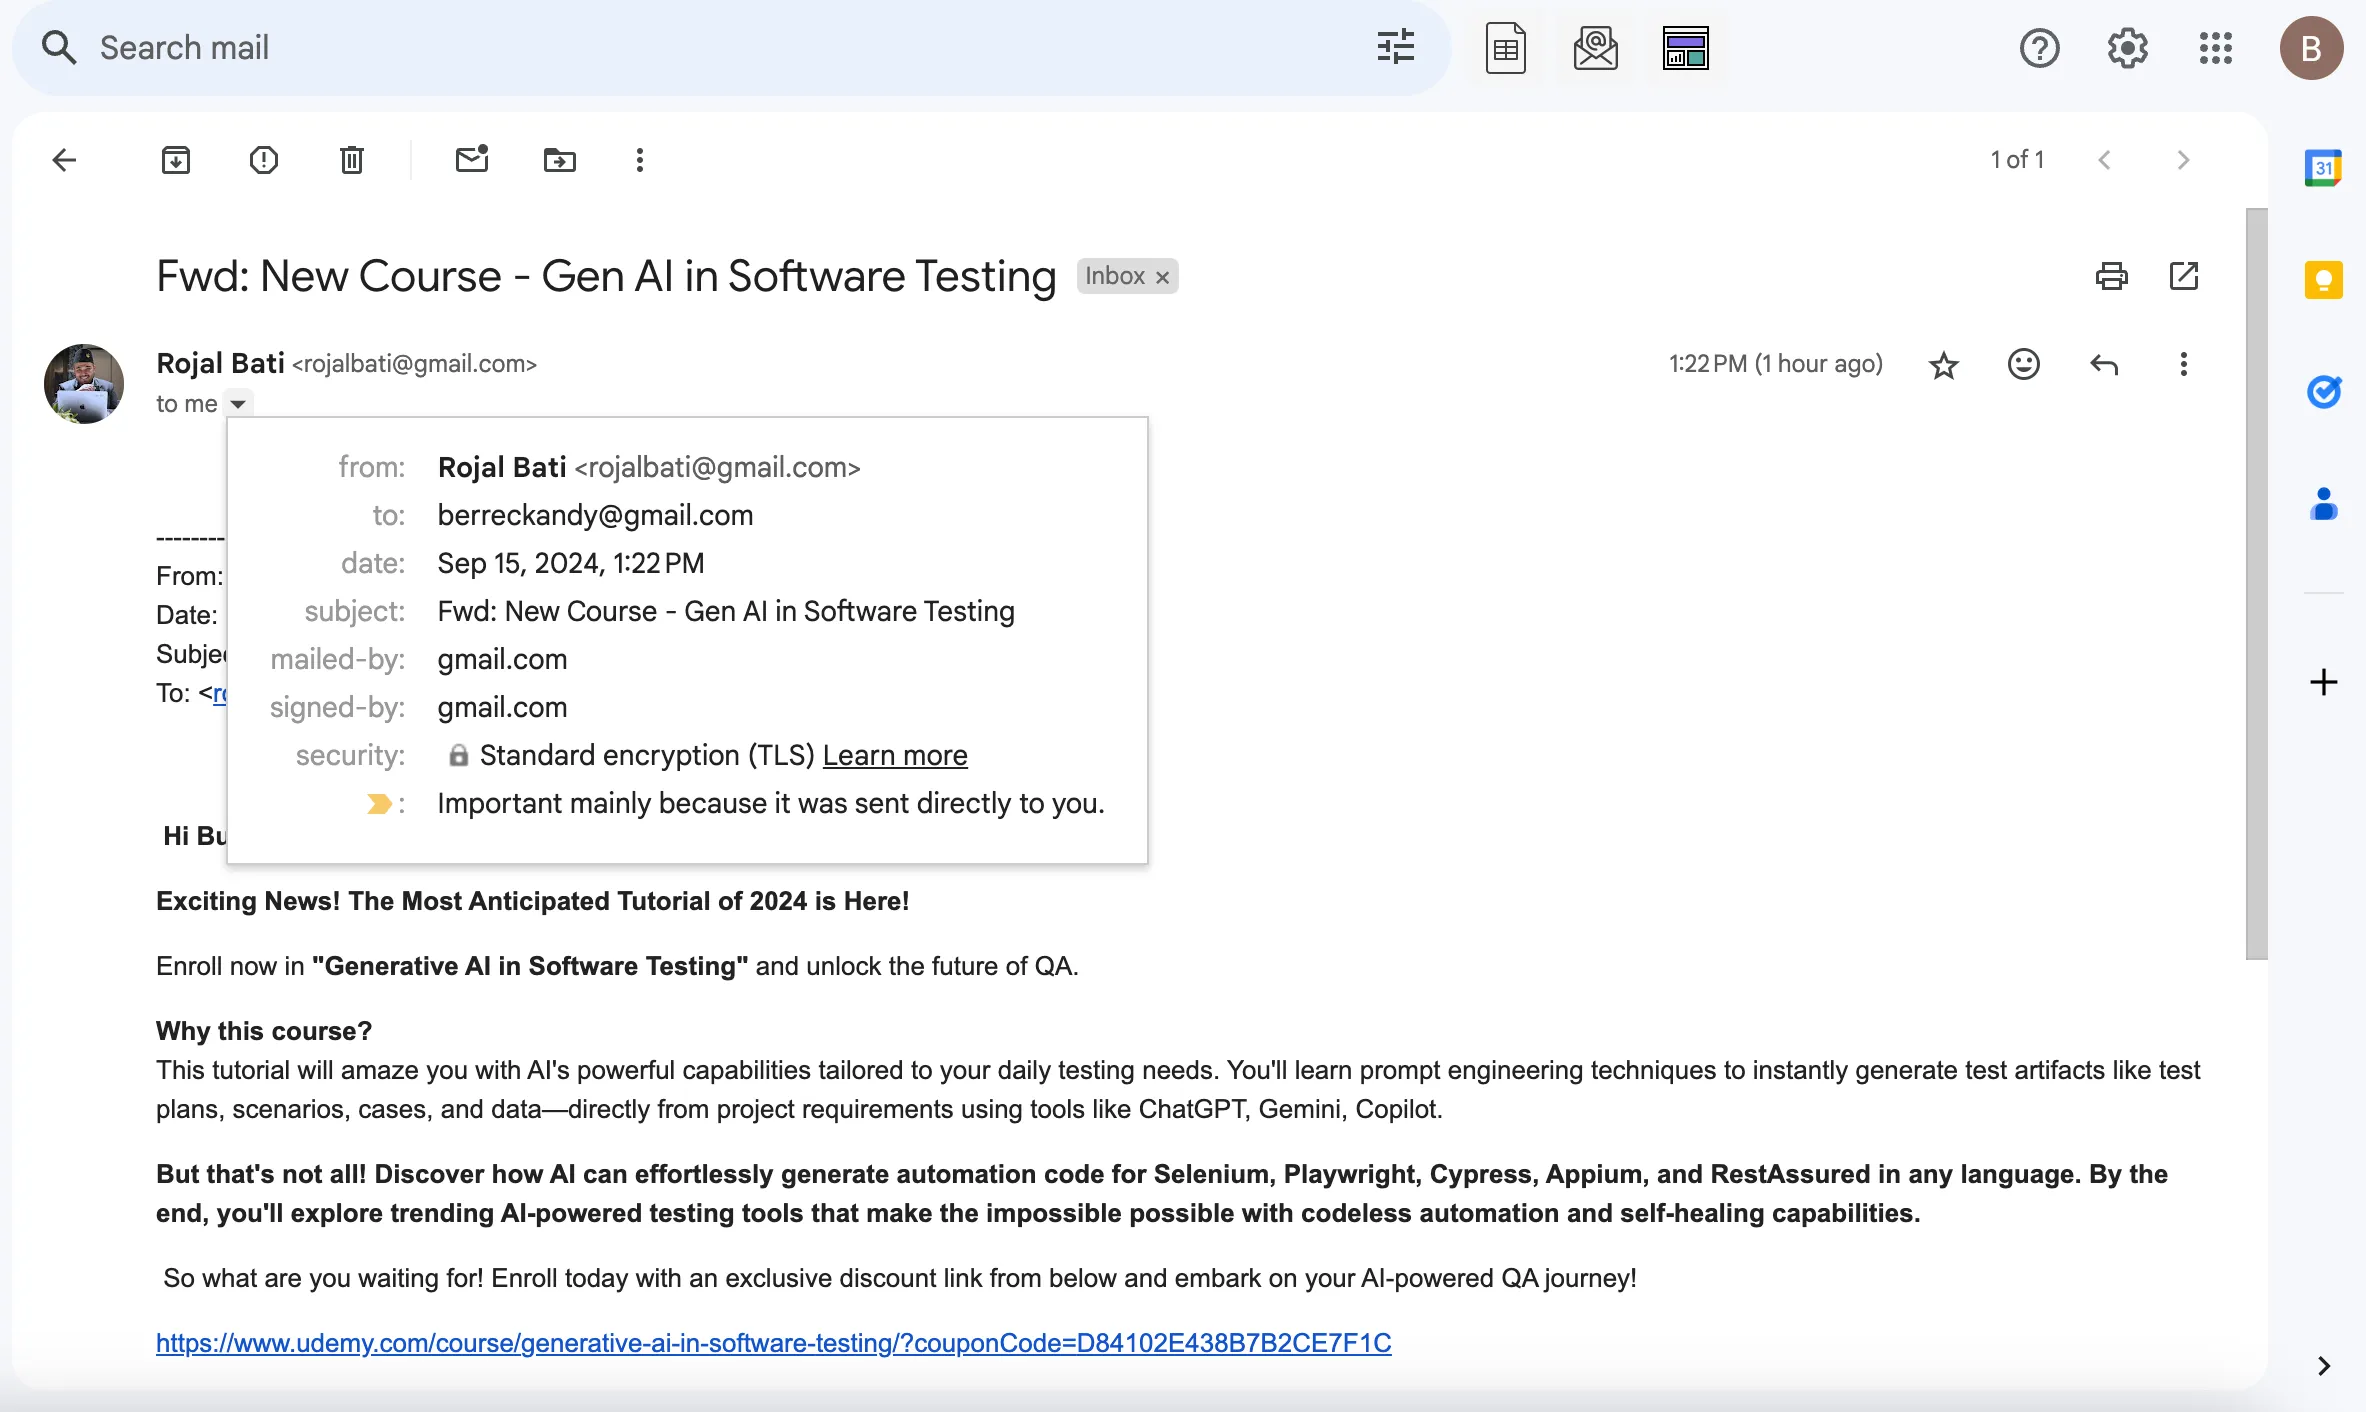
Manually send a test email to your newly created Gmail account.
This will be the email that you’ll extract details from.

4. Run the Test:
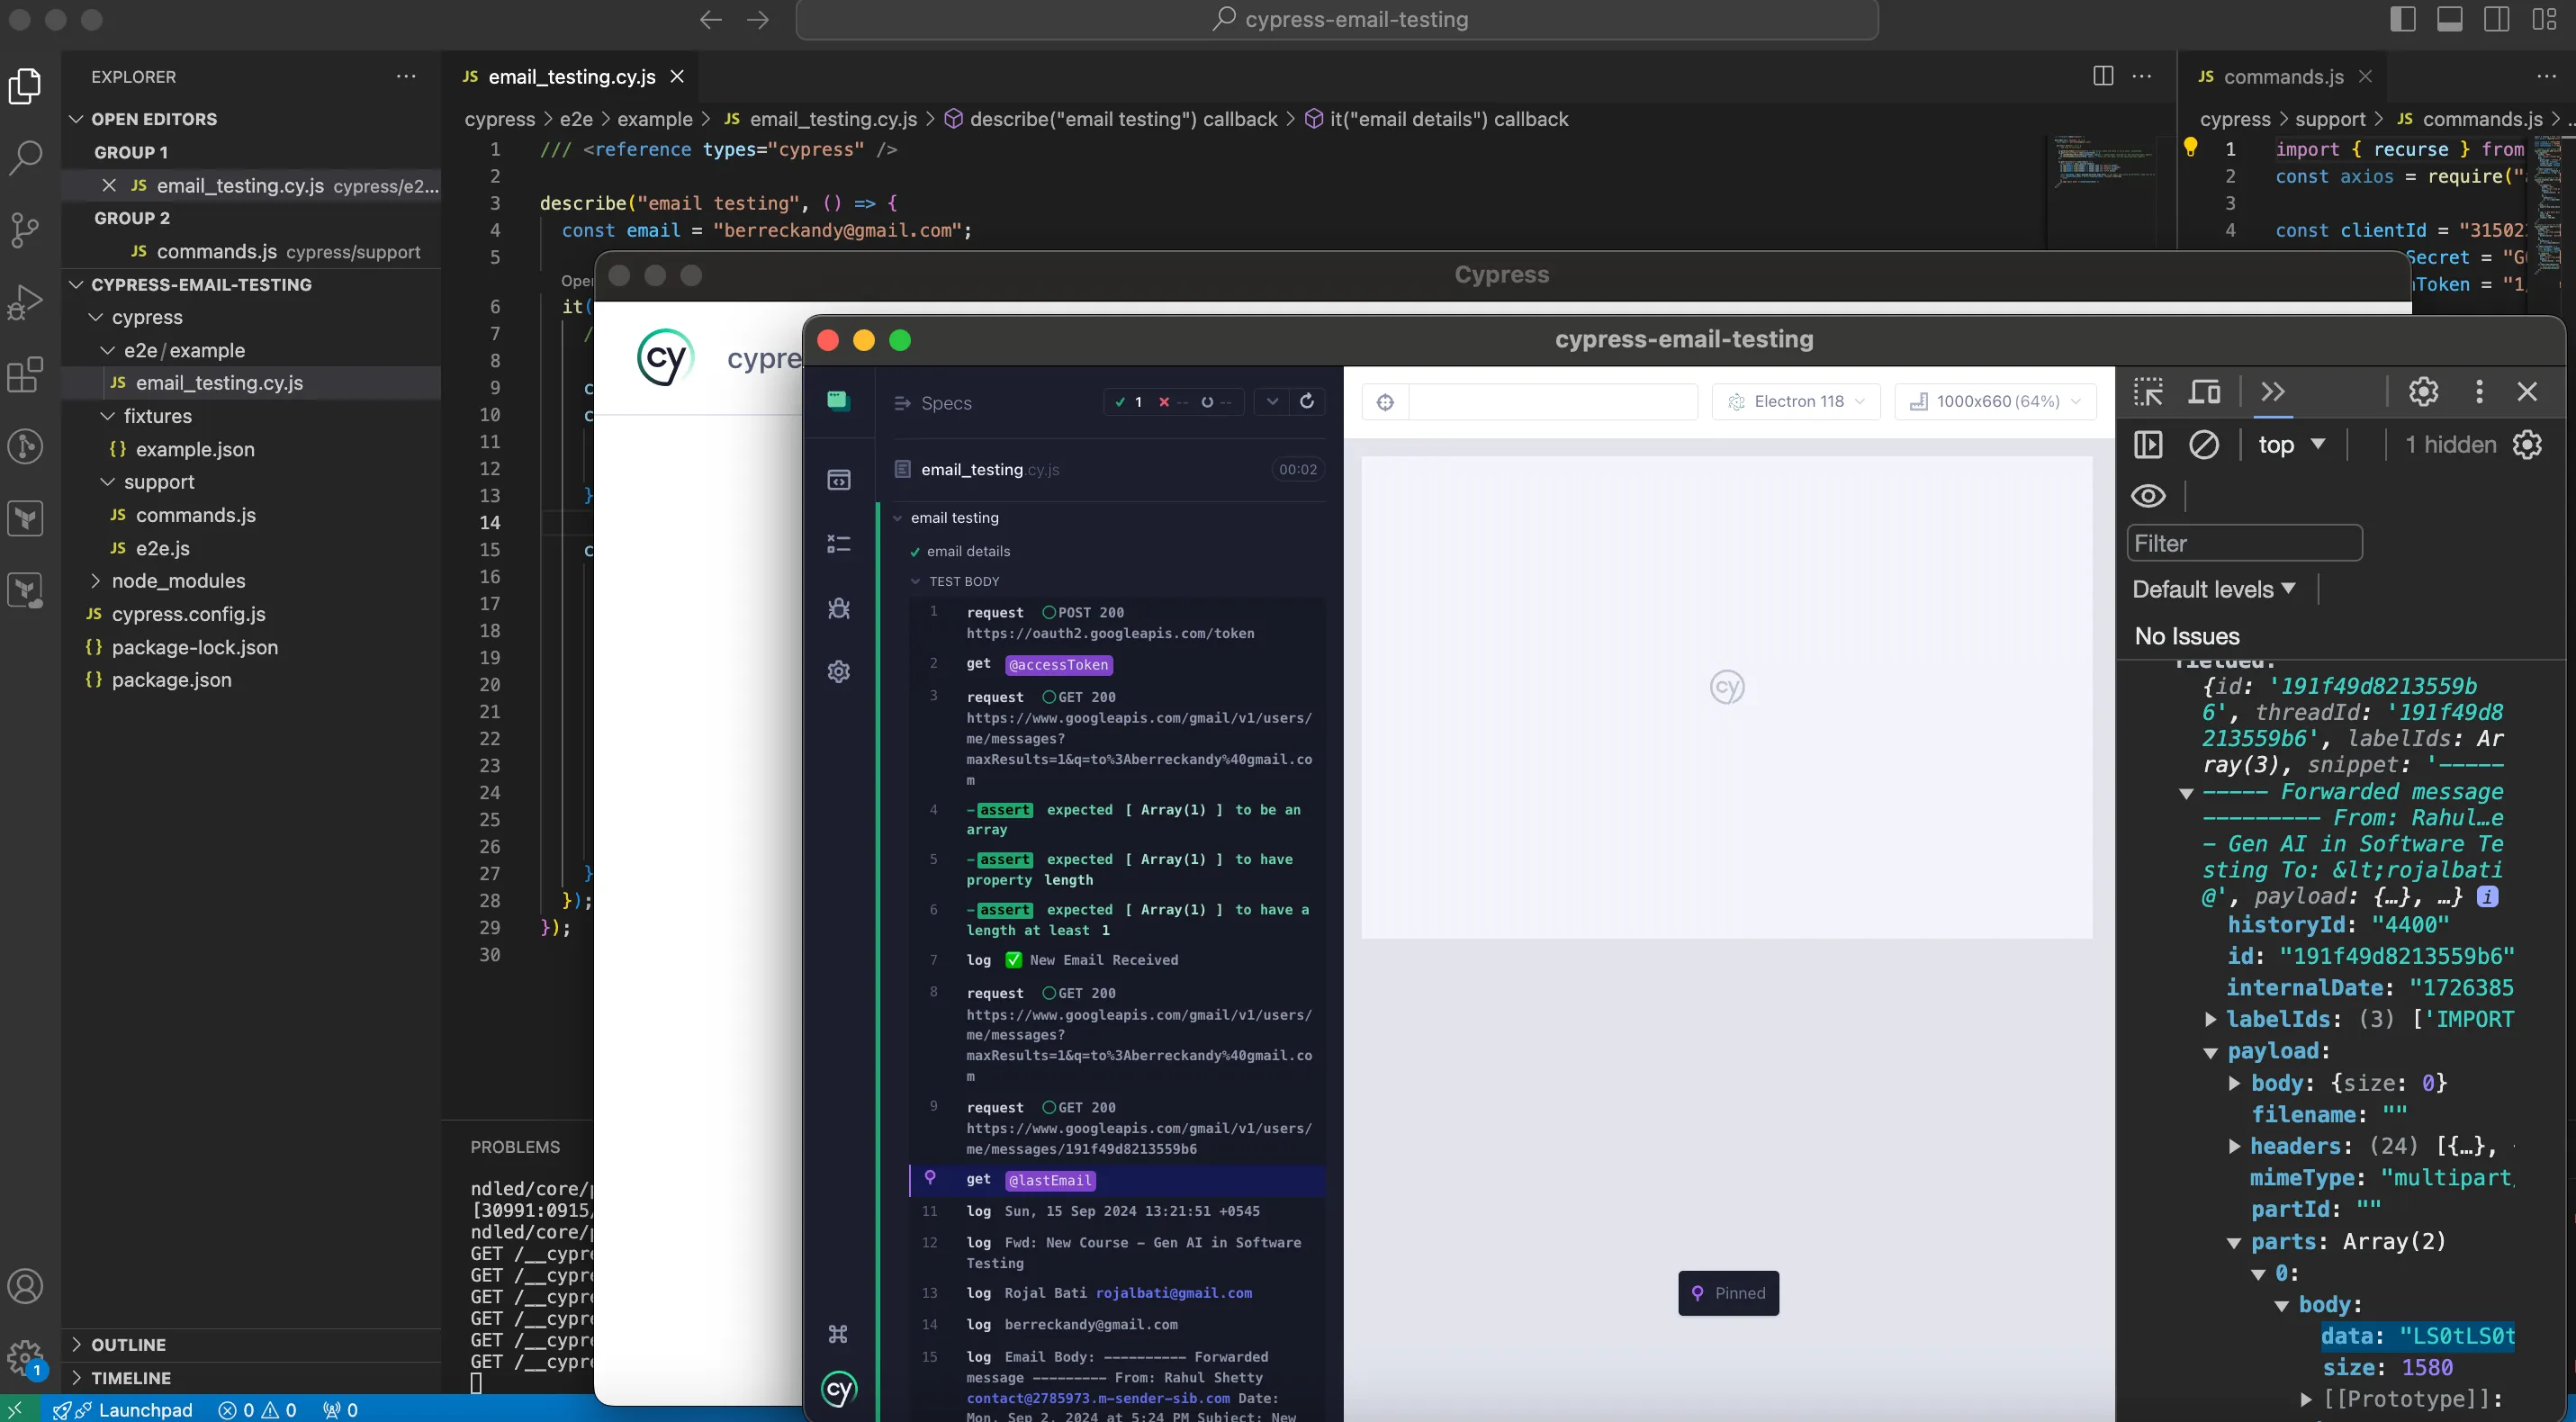
- Open the Cypress test runner and run the test to retrieve the email details.
npx cypress open- Select a browser and run the specific spec file — email_testing.cy.js

Voila! You’ve successfully set up email testing with the Gmail API in Cypress. 🎉
Final Thoughts 💭
By using the Gmail API with Cypress, you simplify your email testing process, avoid extra vendor management, and save on costs. The setup involves a few steps to get your credentials, but once done, you can seamlessly integrate email verification into your Cypress tests. Happy testing! 🚀
👉🏻 By:Rojal Bati